A window changes the wet trail
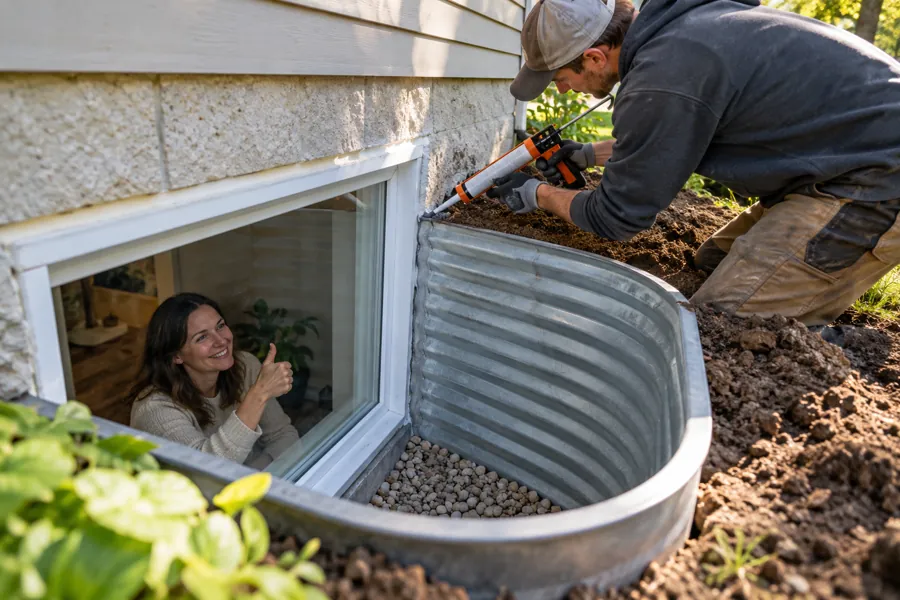
Water appears below an egress window added to a finished basement. Older block walls put mortar joints beside the newer opening. We inspect the outside well and frame seal before treating the lower wall.
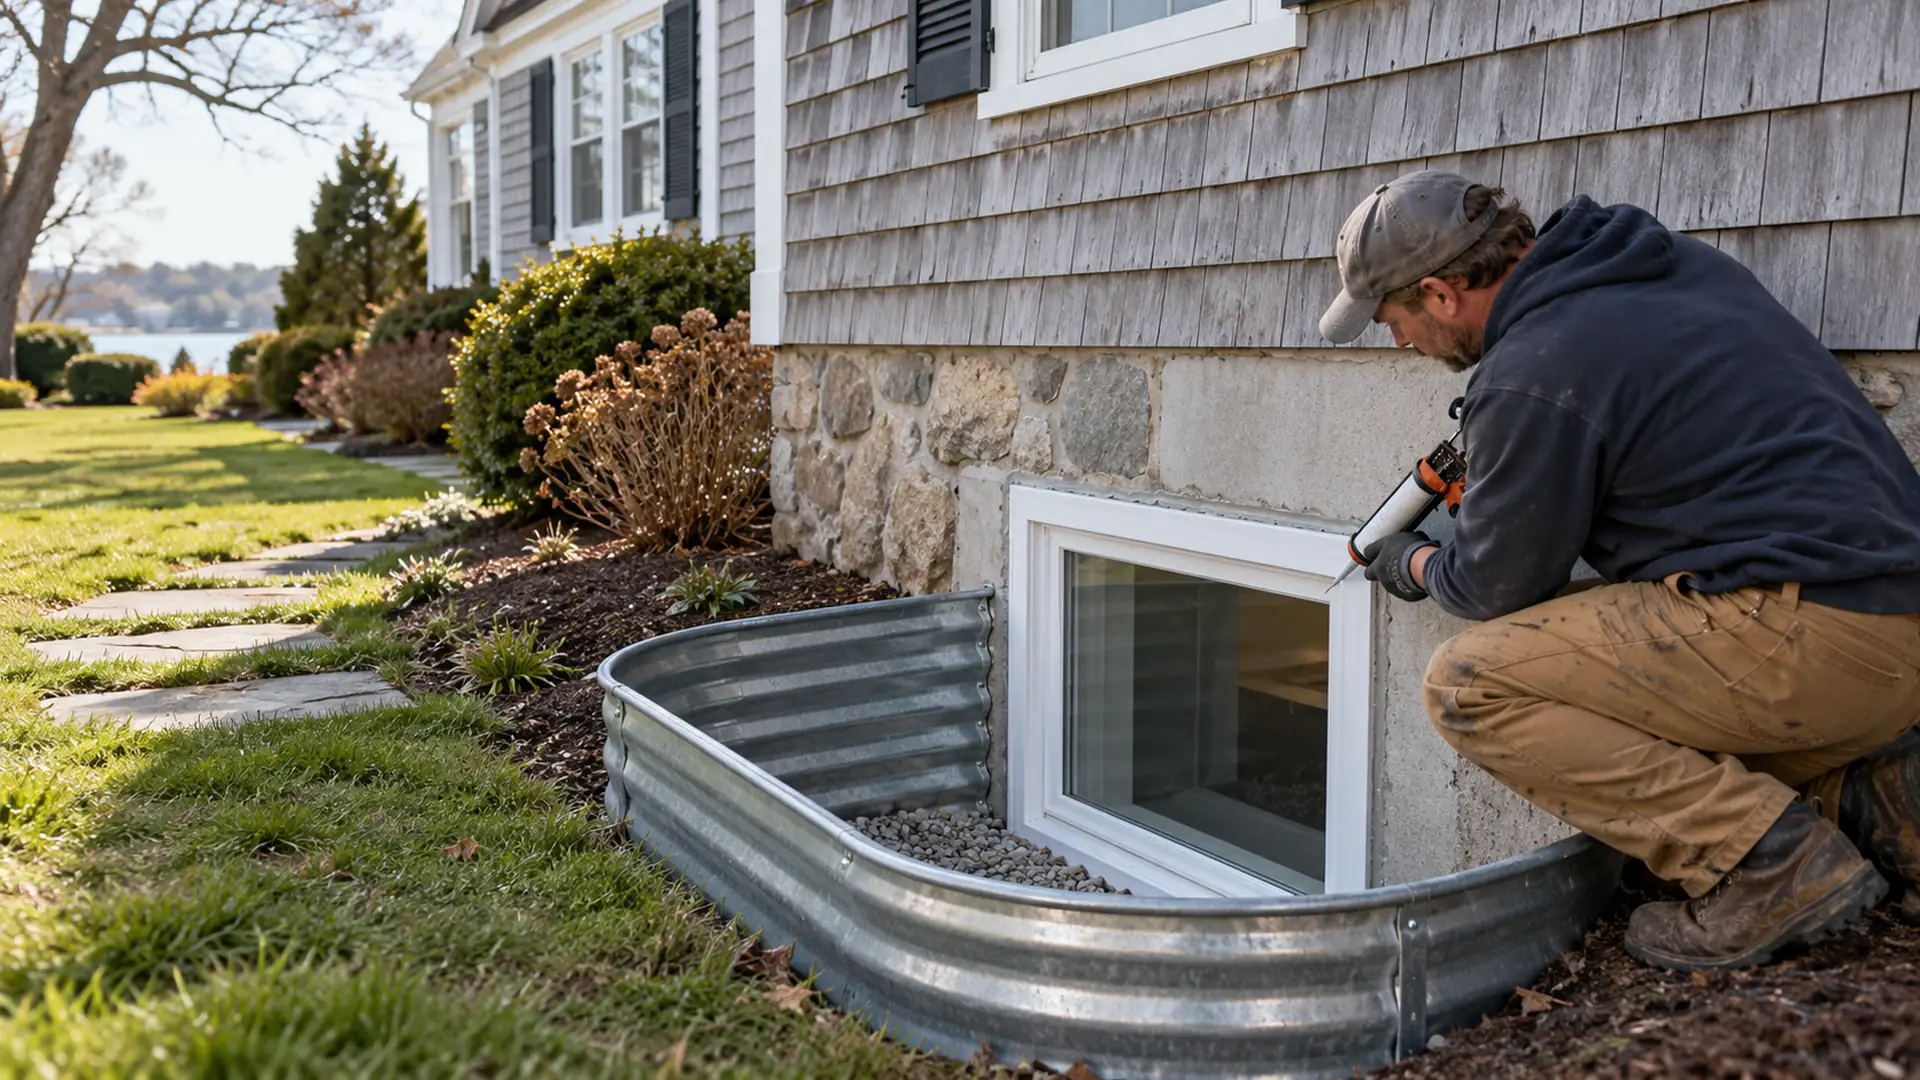
A finished Cape Cod basement develops a wet mark beside an added egress window. St. Louis Park’s block and mortar surfaces put the window route and lower wall joints in the same conversation. We separate local sealing from collection before opening the finished room.
Call (612) 457-0860Water appears below an egress window added to a finished basement. Older block walls put mortar joints beside the newer opening. We inspect the outside well and frame seal before treating the lower wall.
Dampness crosses a lower block course rather than one poured-concrete line. Many local Cape Cods and small ramblers date from the late 1940s and 1950s. The repair follows those joints into a sealing or collection plan.
A musty edge appears beneath panels in a room that looked dry earlier. Aging block surfaces remain behind the finished basement wall. We expose the affected area and explain the drain connection before replacing the finish.
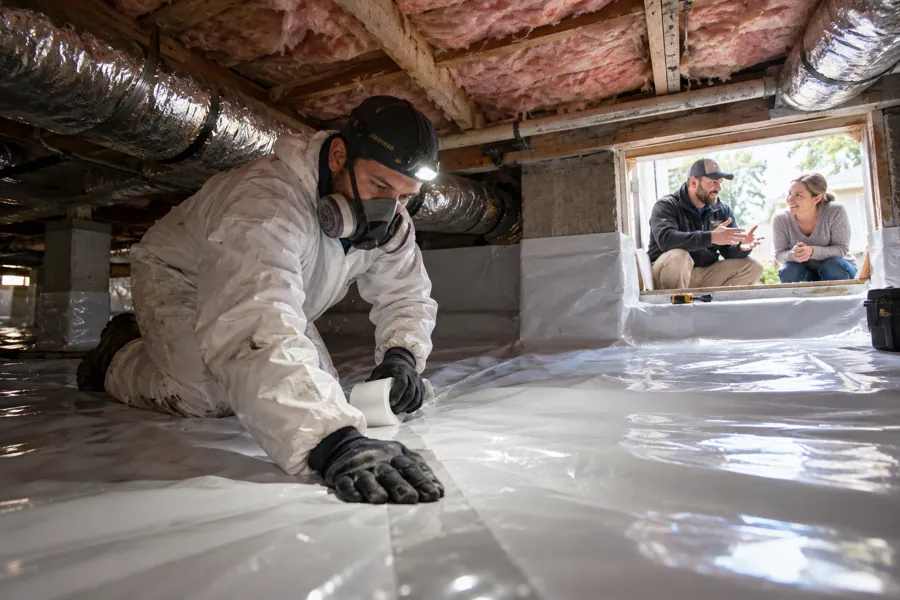
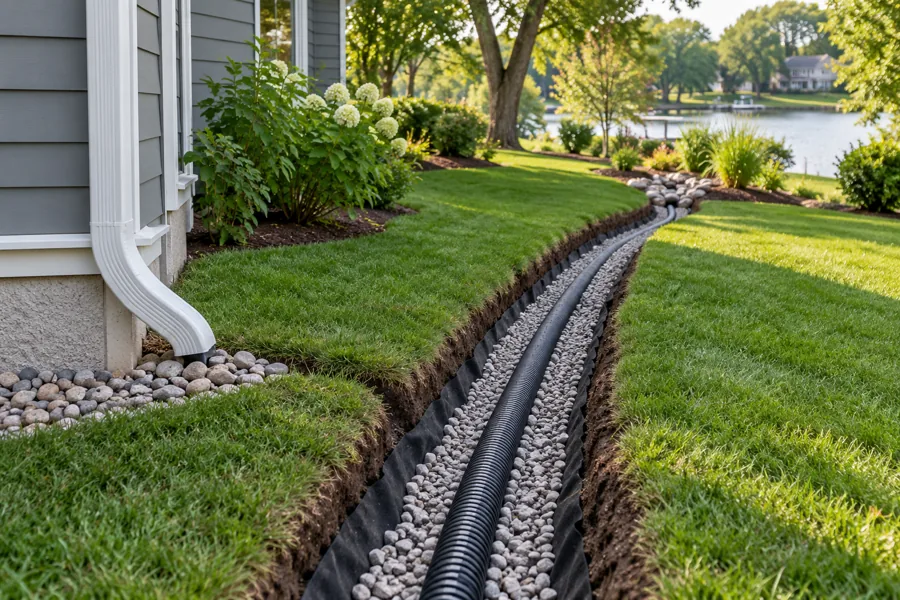
About 60% of local housing was built in the late 1940s and 1950s. Cape Cods and small ramblers are the most common house types. Behind a finished room, block walls and mortar joints still need water routed away.
With a wet finished corner, wet basement repair in St. Louis Park starts behind the affected panel. A wide photo showing the egress opening helps locate the water route. We discuss targeted access before removing surfaces across the whole room.
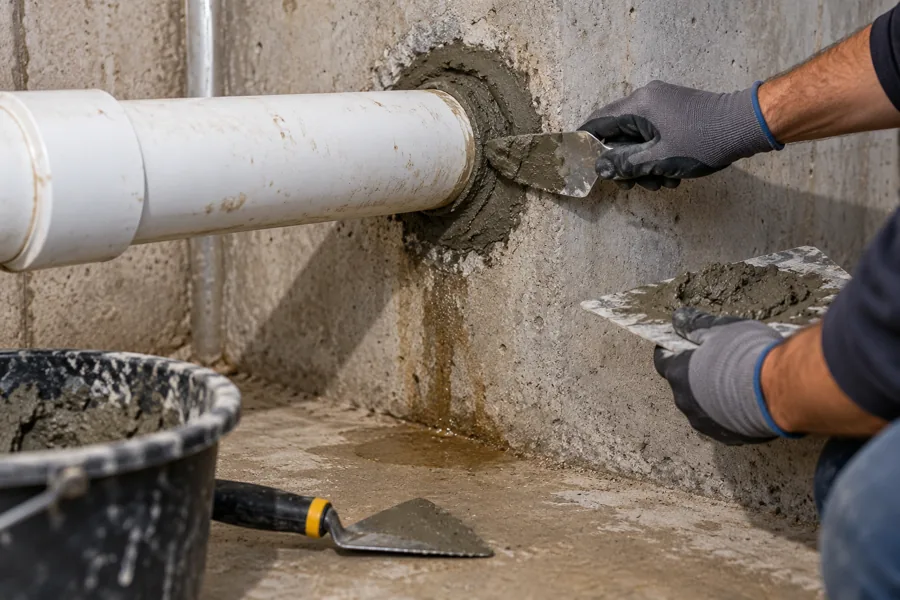
We inspect the joints and the receiving floor edge together. Mortar joint leaks follow openings between blocks, sometimes after water travels through hollow cores. Egress window seepage needs the well outlet checked before the frame gets sealed again. Wall sealing closes the selected leak path while collection gives trapped groundwater somewhere to leave.
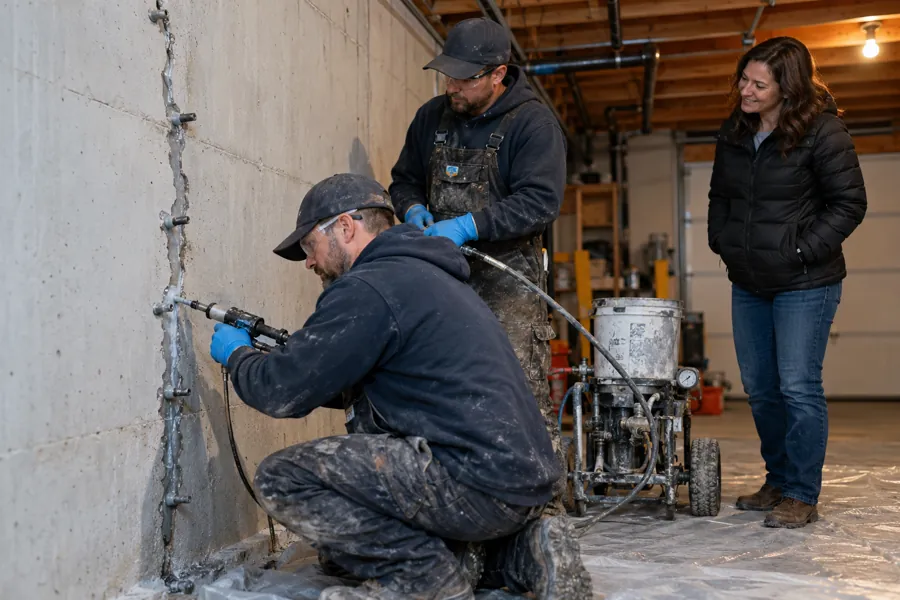
For a defined leaking line, foundation crack repair in St. Louis Park follows the wall material rather than a stock injection. Mortar joints need a different approach from a solid poured opening. We show where joint work or wall drainage belongs before applying another patch. Structural movement needs separate review before water sealing starts.
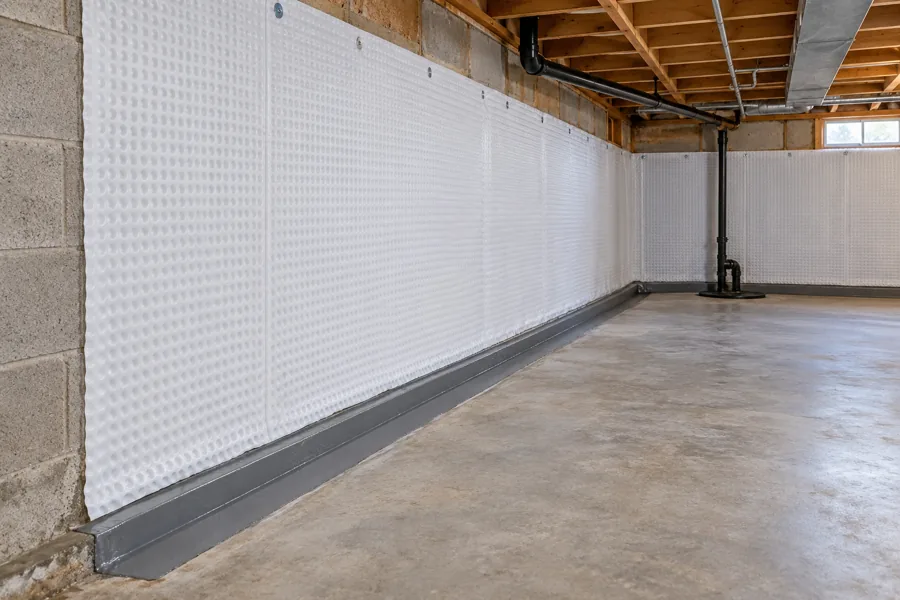
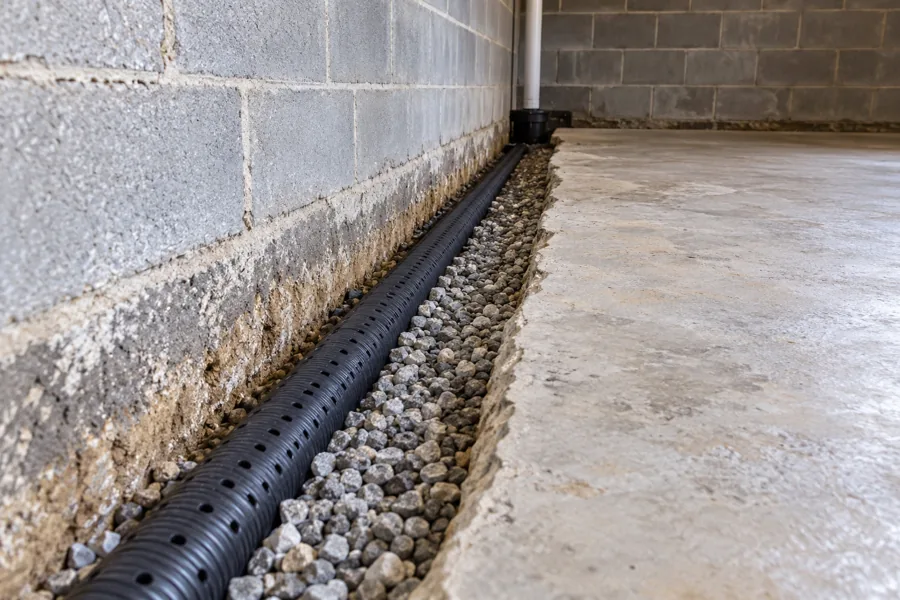
A perimeter collector gives moisture from the wall edge a route into the sump. Existing flooring needs an opening along the selected wall before pipe is laid. We explain the concrete strip, lower wall connection, and finished surface restoration. The collector still needs a pump and outside outlet that pass the incoming water.
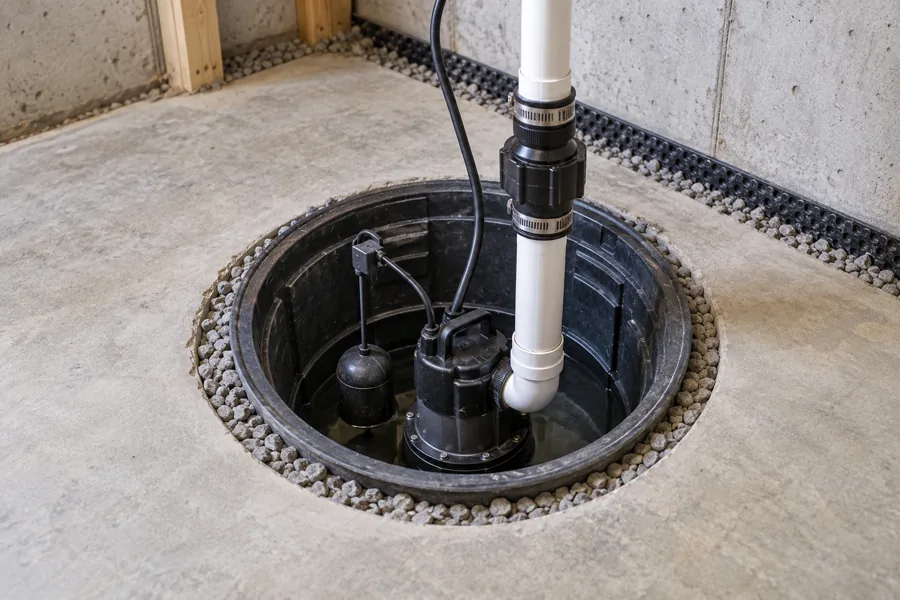
When the basin remains full, sump pump repair in St. Louis Park restores the exit before wall collection relies on it. A stuck switch and a blocked intake leave different clues during a cycle. We test those parts while tracing the discharge destination beyond the house. Groundwater should not enter the sanitary sewer through that sump line.
During winter, photograph damp block joints before indoor drying changes the stain beside the added egress window.
At late March–April thaw, check whether snowmelt collects inside the well above the lower frame.
After summer rain, compare the frame’s first damp mark with the mortar course directly below it.
In fall, clear loose leaves around the egress well so the drain bed stays reachable before snow arrives.
| Service | Typical Range | What Changes the Price |
|---|---|---|
| Foundation crack injection | $400–$1,000 per crack | Crack length, wall type, access |
| Interior drain tile | $70–$120 per linear foot | Floor removal, finished walls, number of walls |
| Sump pump installation | $1,200–$2,500 | New basin vs. replacement, discharge line work |
| Exterior excavation waterproofing | $15,000–$35,000+ | Depth, landscaping, decks or driveways in the way |
We start with the wet edge and the masonry behind the affected finish. Pictures showing nearby windows and the sump help connect that mark to its route. A targeted opening exposes the joints without automatically removing every finished panel. The written work plan explains wall access, collection, and restoration before the room is disturbed.
The frame, well drain, and older wall joints meet around the new opening. We inspect those connections before assuming the whole foundation now needs treatment. Water held outside the frame needs an outlet as well as any remaining seal. Photos from both sides help show which joint becomes wet first during rain or melt.
Mortar divides the masonry into joints and sometimes routes water through hollow block cores. A poured wall presents a different solid surface for an injected opening. We inspect the damp joints before choosing repair materials or a collection edge. That keeps another surface patch from concealing water still moving through the spaces behind it.
The leak needs a defined repair and a way for collected water to leave. We explain the wall treatment, floor edge, pump access, and outside outlet before new panels cover them. Keep service points reachable when planning the finish. The written price separates the water-control work from the room surfaces being restored afterward.
Mid-century wet walls and sump connections share attention with the city’s inspection process.
Aging basements and cove joint seepage put finished-floor access into the repair plan.
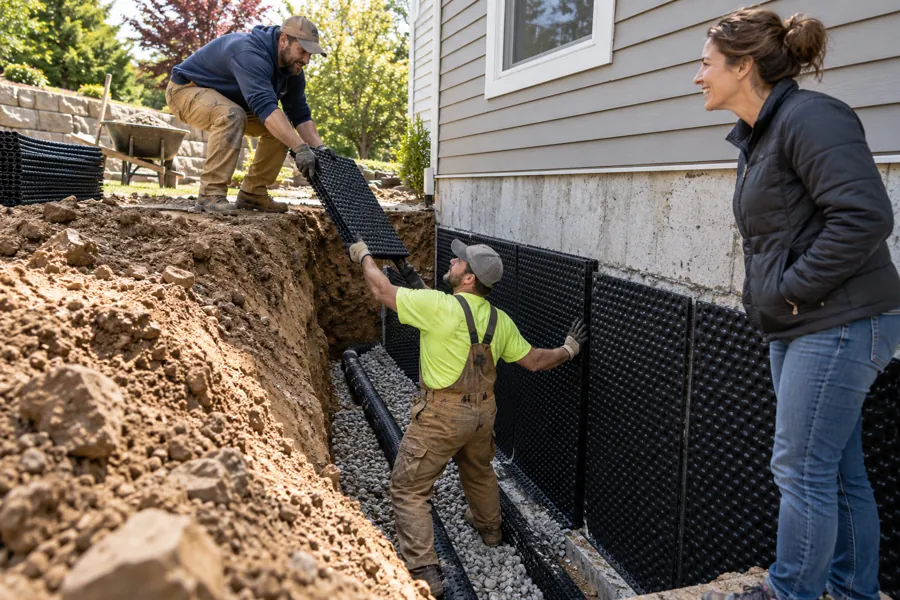
A wall membrane needs a connection carrying masonry moisture down to collection.
New pipe under the perimeter receives water emerging beside the slab edge.
A window or pipe opening gets local sealing after its water source is traced.
Describe the wet mortar course and any window added beside it. We will discuss the outside well and inside collection before changing room finishes. Your repair plan connects each task to the water route it handles.
Minneapolis PureSeal
Minneapolis and surrounding area
contact@waterproofingminneapolis.comMonday through Friday, 8:00 AM to 5:00 PM
Emergency calls: available 24/7